Recent Posts

Monday, January 4, 2010

New Year, New Recipe


Happy New Year's everyone! 2009 was an incredible journey for me - lots of highs, some lows, and tons of challenges. 2010 looks like it has even more in store now that I've started this blog, am getting back into screenwriting, and am investigating new work possibilities! (How's that for cryptic?) 


Anyway, this week should be a good one for Living with Annie. I'll have a few new recipes, a new craft, and a very exciting REVEAL of my Stay-cation major decorating project on Friday!

Today, I'm sharing a recipe recently made by my dear friend Ooroo (also known as Laura). I'm hoping to share more of her crafty work later this week and in the future, so be on the look out for it.


Without further adieu, Ooroo's Mint Chocolate Bark! (Originally found here at meals.com)


Ingredients:
1 2/3 cups (10-oz. pkg.) NESTLÉ® TOLL HOUSE® Dark Chocolate & Mint Morsels
1/3 cup coarsely chopped oven roasted or toasted almonds (Laura says to toast them in the oven on 300 degrees)


Directions:
PREHEAT oven to 325° F. Line small baking sheet with foil or parchment paper.

POUR morsels onto prepared baking sheet. Arrange morsels so they are touching each other in a single layer (roughly an 11 x 9-inch rectangle).

BAKE for 1 to 3 minutes or until morsels are shiny. Remove from oven to wire rack. With tip of butter knife or wooden pick, immediately swirl morsels to create a swirled pattern.

SPRINKLE with nuts. Hold baking sheet 3 inches above counter and drop to settle nuts into melted morsels. Refrigerate for 1 hour or until firm. Break into pieces. Store in airtight container in refrigerator.


VARIATION: Substitute broken pretzel pieces or another nut of choice for the almonds. 


Minty chocolate-y goodness. Thanks Ooroo for the inspiration!

Wednesday, December 30, 2009

How to make your own board game

Fresh off the heels of Christmas, here is a step-by-step guide to creating your own "opoly" for your family, friends, sorority, twitter buddies... the sky is the limit. My game is based mainly on location (Properties become more expensive as you move around the board and are personalized to the people that live in each area) but you can base yours on anything. All the property amounts remain the same and it is meant to be played exactly like Monopoly (except for a few fun twists on the Community Chest/Chance cards).

To see how the finished product comes together in awesome, please take a look at yesterday's post. To get cracking, here are the directions.


SUPPLIES:
Note - all templates mentioned are at the bottom of this post. 

For the game pieces -
1) A Black Sharpie
2) A Metallic Sharpie (I used Silver)
3) A pack of small wooden circles (Mine were $3 from Michael's in the wood section)
4) .75" by .75" photos of every person who will be on a game piece 
5) Scissors


For the game board, box, and cards - 
1) Brand new Monopoly Game ($9 at Target)
2) Scrapbooking stickers (I used a travel themed scrapbooking set for $6 also from Michael's)
3) Raised Scrapbooking Varsity Letters (These were a $5 set in the Martha Stewart Collection from Michael's)
4) Printed panels, Community Chest/Card text, printed labels for the title cards, and printed location titles (nearly all provided as templates below)
5) Neutral-colored cardstock (for the sides of the box and a frame beneath the main board photo)
6) Photo of your entire family (or group) that's at least 4x6" printed on regular paper
7) Repositionable spray adhesive


For the money -
1) Photos you'd like to use of the family
2) Templates for money that I've provided
3) Computer paper and printer


DIRECTIONS:


To make the game pieces - 
1) Using a black sharpie, color one side and the edge of the wooden circle completely. Repeat for every game piece you intend to create.
2) Taking your .75" by .75" inch photo of someone, use the wooden circle to carefully cut the photo into a circle that will fit on top.
3) Use modge podge to glue to the photo to the un-sharpied side of the wooden circle.
4) Seal on top with another coat of modge podge.
5) If you desire, on the black sharpied side, use a metallic Sharpie to write each person's name. Once dry, modge podge that side to protect your text.

6) Repeat for every person you are making a game piece for.


To make the game box - 
1) Use spray adhesive to carefully affix your scrapbook paper or cardstock to the Monopoly box. The design is completely up to you. I used two pieces of scrapbook picture and added a chipboard "tag" that came with the scrapbook page set I bought.
2) Press on raised adhesive letter stickers to incidate the name of your game.

To make the monopoly money -
1) Use the templates at the end of the post as a starting point. Insert your own photos over them using Microsoft Word or another application.
2) Print in the denominations that correspond to the money that came with your monopoly set.
3) Cut all of the bills out (an exacto knife is very helpful here) then rubber band together for your game. 


To make the properties and railroads for the physical game board -
1) Create your own property spaces or customize my templates at the bottom of the post. You can use a location theme like I did or choose not to divide up the board at all. I would recommend keeping the monetary amounts the same as the ones in monopoly so you can play it according to those rules easily.

2) Print your spaces on regular computer paper and cut all of them out (preferably with an exacto... it'll make your life way easier).
3) Using spray adhesive, carefully adhere your spaces to the corresponding spots on the board.


To change the title cards to reflect your new properties and railroads on the board - 
1) Use my templates or create your own new title deed labels.
2) Print and cut out two copies of the labels (one for the front and back of each card).
3) Using spray adhesive, adhere the new title to the front and back of each title deed card - thereby covering up the old names for the properties. 


To change the Community Chest and Chance Cards (if you'd like to) - 
1) Templates are below if you'd like to do this. I did only about 9 cards, leaving the rest just as they are from the Monopoly game.
2) Print your new text and adhere it to your specific cards using spray adhesive.
3) Slide these revised cards in with the rest of the deck.


To further decorate the board - 
1) Using neutral cardstock, cut a rectangle that will cover the place where it says Monopoly on the game board and glue it down. (Spray adhesive did not work well with such big pieces).
2) Then glue your photo of your family/group in the middle of the rectangle, framing it in the middle of the board.
3) Use stickers or hand-write the name of your new game beneath the photo.


Last steps before you box it up again - 
Make sure you score (cut) lines in the middle of the family photo/the cardstock frame/any properties that run into the creases of the board. You want to be able to fold it so think about where the board naturally needs to break down and score lines in your new properties and the photo to make sure it can be folded down and reassembled.


And that's it! This project took me roughly 4-5 evenings to complete and I had a lovely little Franceschi helper who especially came in handy when cutting out all the money. Good luck on your own games! Hope they'll bring your family years of fun :)


Templates (text from my game included) -
Money Templates are below - click to view them actual size


Sizes for your own templates if you'd like to create them (all the templates above are sized properly):
Game Board Property, 2"x1.5"
Game Board Railroad, 2.5" by 1.5"
Title Deed Card Label (just covering the text with your new property name), .5" by 1.5"
Monopoly Money, 2.25" by 4"


Other resources:
Wikipedia on Monopoly (Complete with a layout to the current (2008) Edition of the game, complete with property amounts)


Tuesday, December 29, 2009

My Craftiest Christmas Yet


After being inspired by Angela at a Bushel and a Peck a few weeks ago, I decided to make Gus's parents and family a board game personalized to their awesomeness. There are tons of kits to do this but of course, I dived in pretty much from scratch to make sure I had total DIY control over the look of everything. This, of course, was before I realized just how many bills are in the bank of Monopoly!

Today, the big reveal! Tomorrow, come back for the DIY tutorial, complete with all panel templates and instructions on how to customize your own little version of Monopoly. Enjoy and I hope everyone had a very merry Christmas!


The game board, customized with properties that were named after everyone in the family. Locations move from least expensive to most expensive, corresponding to where everyone lives in the country (except Firenze, which was a vacation spot)


A few select Community Chest cards are changed to have challenges to get that cash. Sadly, I didn't get to see anyone improvise a family song!


Wooden circles, printed photos, and little modge podge became excellent little game tokens - one for everybody (and two girlfriends, huzzah!)


All smiles from the parents. Hurray, a complete crafty success!

Now, what the heck will I do next year?

See you tomorrow when I'll give the lowdown on exactly how to do this project and create family board game fun for a lifetime.


Wednesday, December 23, 2009

Baked Oatmeal (in a pinch)


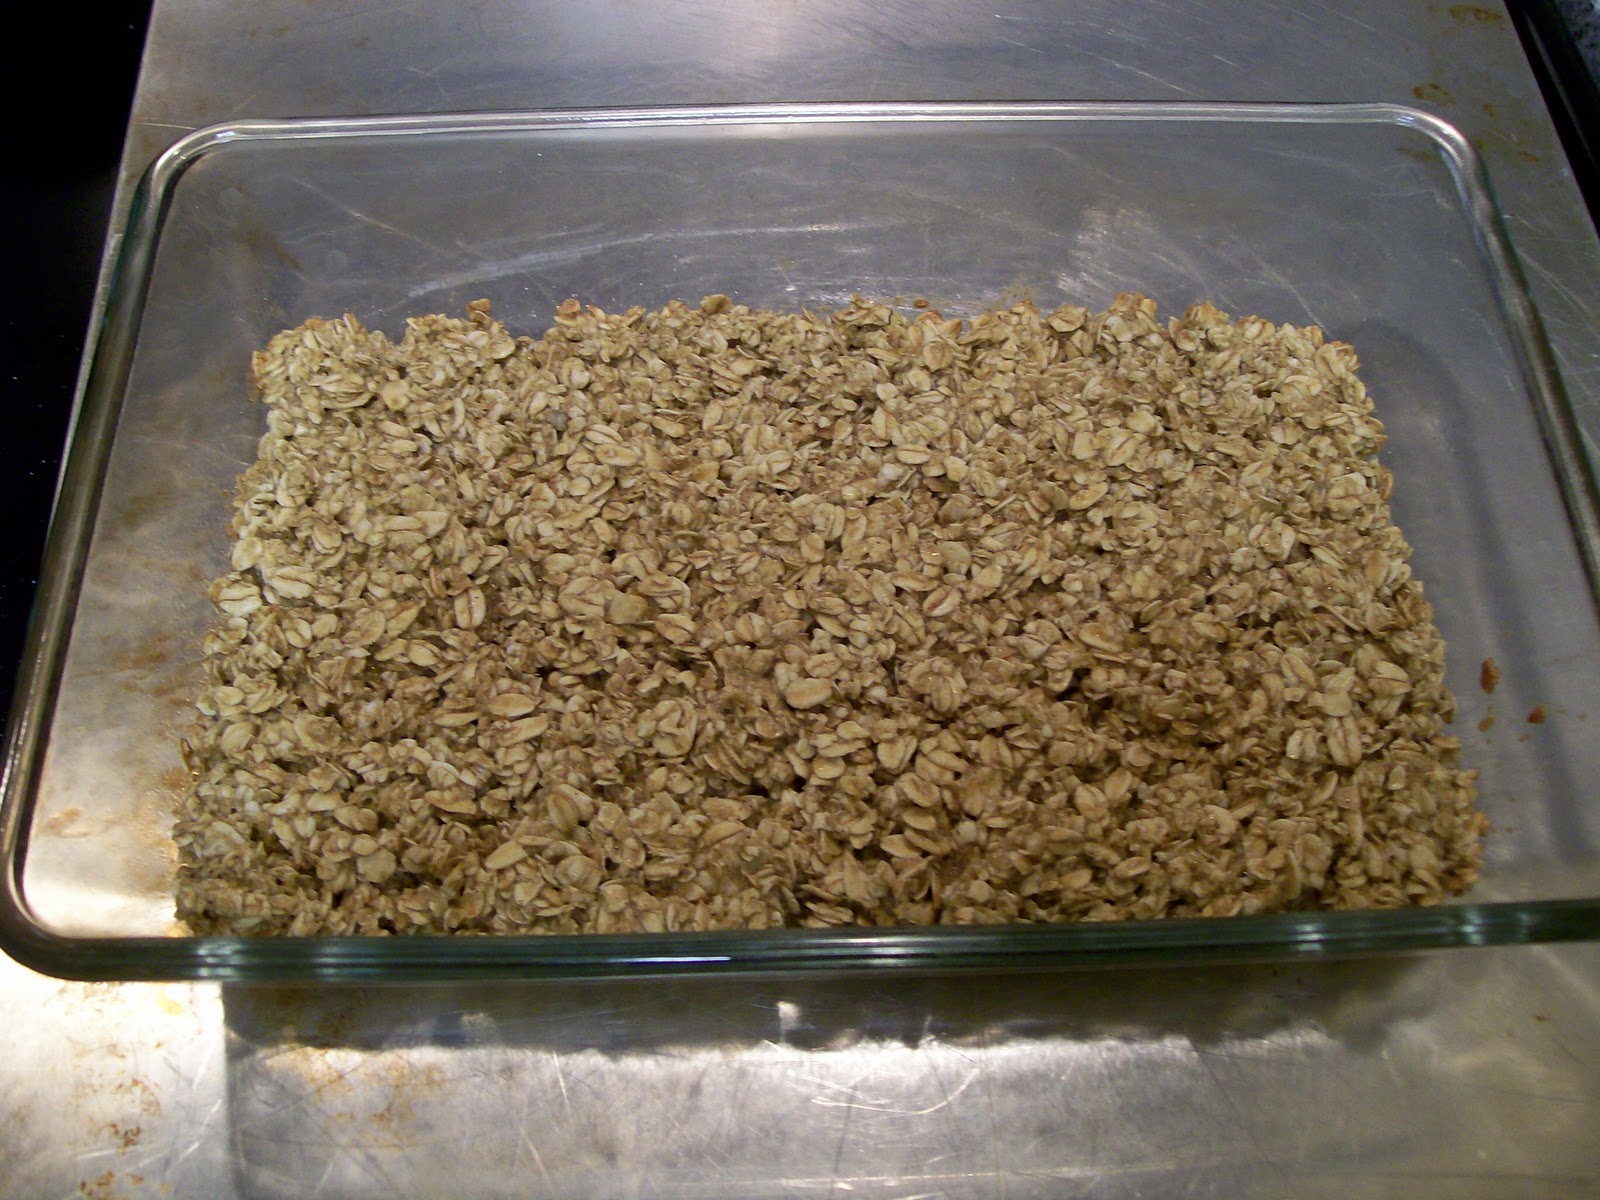
One of my friends from college makes a great baked oatmeal. It feeds tons of people and is super yummy topped with milk or ice cream. Never had baked oatmeal before? Boy, you have not lived until you have tried it. Imagine something the consistency of an oatmeal cookie topped with baked cinnamon and sugar - nom!

Here's the recipe from my friend (who got it from a friend of his). Be sure to size this down and note my awesome substitute for milk!


Krista's Baked Oatmeal (provided to me by M@)


INGREDIENTS:
1 1/4 C oil
2 1/2  C milk (or French vanilla ice cream which I subbed in a pinch)
2 Tbs cinnamon
2 1/2 C sugar (brown or white) (I like a mixture of both)
2 1/2 tsp salt
5 eggs (beaten)
7 1/2 C oatmeal (dry)
5 tsp baking powder 


DIRECTIONS:
Cream together sugar, oil, and eggs. Add oatmeal, baking powder, salt, milk and cinnamon. Put in 9 x 13 in pan that has been greased. Bake at 350 degrees for 30 minutes. ENJOY! 

I like to eat mine with ice cream... and apparently, bake it with ice cream too. Delish! Happy breakfast.  


Tuesday, December 22, 2009

Annie - the award-winnning baker


I was hoping this day would come at some point in my life- the day I’d actually win an award for something I whipped up! Indeed, that day has come. Last week, I made my own spin on Bakerella’s cake pops – Mickey and Minnie Cake Pops – for our Charity Bake Sale. They turned out great and much to my delight, I was awarded a Golden Spoon (an amazing wooden spoon wonderfully spray-painted in gold) for “Best Candy.” Yeah, I still got it.


Anyway, here’s a brief rundown and the recipe if you’d like to make your own this holiday season!

Cake Balls are basically just cake mixed with frosting, rolled into balls, then dipped in chocolate. They are a staple of an amazing baker/blogger known as Bakerella. If you'd like more background on them, check out my earlier post- Cake Balls of Deliciousness.


If you'd like to make these scrumptious award-winnng Disney-themed pops, here's what you'll need:


For the cake and cake/frosting mixture  -
- Devil's food cake mix
- Eggs and vegetable oil (enough to bake the mix as normal)
- 1 can of Cream Cheese Frosting

For decorating the cake balls - 

- One box of Junior Mints
- Red heart sprinkles
- Wilton's (or any other brand) dark cocoa melting chocolate
- Lollipop sticks
- Red sugar sprinkles (optional)

For presentation - 
- A long foam block
- Gift wrap


DIRECTIONS
1. Prepare cake as directed and allow to cool for at least an hour.
2. Crumble cake into fine particles with your hands into a large bowl.
3. Add an entire can of cream cheese frosting. Mix evenly.
4. Roll the mixture into small, 1 inch balls and place on wax paper. Refrigerate (overnight) if you can.

5. When you're ready to decorate, melt your melting chocolate in a deep bowl according to the directions on the package.
6. Dip the tip of each lollipop stick into the melted chocolate then straight down into the cake balls on your wax paper. You are making cake on a stick here, essentially.
7. Once you've completed that step and the melted chocolate on the stick has been able to set, use the lollipop stick to dip the cake ball into the chocolate. Tap the stick towards the top (towards the cake ball) to drip off excess chocolate.
8. Working VERY quickly, attach two Junior mints as the ears (be sure to press down a little bit into the chocolate/cake ball) then two red heart sprinkles sideways to form a Minnie bow (if you are making Minnie). The chocolate dries in a matter of seconds! If it sets before you can get the bows on (which happened to me several times), dip one side of the red heart sprinkles back in the chocolate and use it as glue to attach. Repeat the same for any ears that might fall off.
9. Allow to dry by stuffing the lollipop stick down into a large foam block. It should hold the pop in place when it dries. Repeat! Just one box of cake mix will literally make nearly 50 pops if you need em so get crackin.


10. To make the display, remove all the pops from the foam block and lay them on wax paper (as long as they have set, they will be fine for the time being).
11. Wrap the box in your chosen gift wrap (I used holiday theme). Then set the pops back down into the styrofoam - and voila, cake pop display!


Alternative: You can also cut out circular labels and poke a hole in the top and bottom for the pop to go through. Great for giving individual pops as gifts!


That's it for me today. Hope you have fun making your own cake pops! Good luck on getting your own golden utensils. I heart mine.

Monday, December 21, 2009

Wacka wacka wacka


This year, Disney held a "decorate an ornament" silent auction. I barely got my baked goods ready in time for the bake sale on the same day so I wasn't going to participate. 

But then, inspiration struck/my desire to contribute overcame me. But what could I make with such limited supplies (sharpies, white out, file folders, and glue) on limited time (mere hours)? The answer was staring me plain in the face- what was the color of the ornament? None other than Fozzie Bear!


This lovely ornament was crafted from nothing other than a brown paper covered ornament, sharpies, white out, glue, and a dark brown file folder in less than two hours. Both the hat and the ears are simply cut outs from the file folder and glued to the top of the ornament. White out stood in for eye paint.


Fozzie faired well at auction and sold for $20 (the starting bid was $5!) Just goes to show you that sometimes inspiration comes when you least expect it and yields very creative and fruitful results.


Wacka, wacka.


A Few Updates

Ello friends. As we approach the holidays this week, I'd like to let you all know what to expect from Living with Annie and what awesome I have in store.


Today through Wednesday of this week, visit me for some fabulous LwA posts including a new super-cute recipe, exciting award-winning news, and more. This Thursday and Friday, due to traveling to Iowa and you know - Christmas - I will be away on vacation.


Be sure to check back in after Christmas. You don’t want to miss my posts that will finally show off all the creative little projects I did as gifts this year (complete with tutorials!). Post-Christmas, Living with Annie will be back, and better than ever, with new posts on Tuesday, Dec. 29.


Wishing everyone good luck on their last bits of shopping and, if you’re like me, on those massive project/presents you started and need to finish by Thursday!

-Annie
Related Posts with Thumbnails