Yes- this post is exactly what you think it is, you lovers of all things chocolate and wafer. My boss is a big fan of the red wrapped treat - KitKat. So much so, that I've stashed away his favorite treat, frozen as he prefers, and he often asks me to grab one for him when the day's just getting too stressful.
His birthday is in about 10 days but he'll be away on a business trip then a vacation. Last Friday was our last opportunity to catch him for the big day and I figured what would be better to celebrate his love and celebrate my one year of blogging with a most delicious KIT KAT CAKE!
With that my friends, here's how to make your own slice(s) of heaven. This cake was inspired by others I found on the web but hey, I love a great baking opportunity and wanted to pass it along to you.
Ingredients and Supplies:
- 1 pkg Triple Fudge Chocolate Cake Mix (any chocolate cake mix works, even Gluten-Free)
- 1 8oz tub Real Creamy Cool Whip
- 1/4 can of chocolate frosting
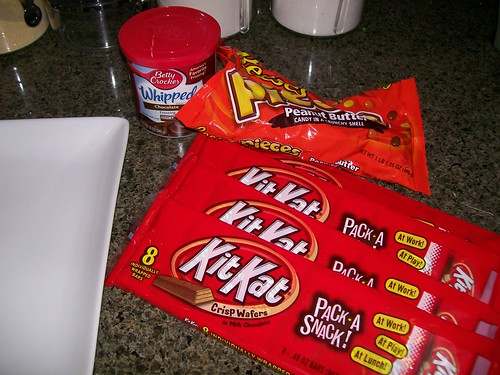
- 1 large package of Reese's pieces or your favorite chocolate round candies (M&M's, etc.)
- Approximately 24 KitKats (regular size)
- 1 long white ribbon - at least 24"
- 2 9" round cake pans
- Pam
- Large plate
- Serrated knife
Directions:
1) Prepare to make and bake cake mix as directed. Divide batter into two Pam-greased 9" in round cake pans.
2) Bake cakes as directed on your cake mix packaging.
3) After the cakes have cooled, slide one layer onto a large plate. Use a serrated knife to even out the top of the cake if it rose while baking.
4) Top that first layer with approximately 1/3 a tub of cool whip.
5) Slide the second cake layer centered on top of the cool whip and first cake layer - forming a delicious cake sandwich. Yum!
6) Use the serrated knife again to level off this top layer- this will be your base for the 'barrel' insides where your candy lays. You'll want the cake layers to come up no higher than 2/3 the height of your kit kats. Feel free to open one to use it as a measure.
7) Once your cake sandwich is level, top the second layer with a thin spread of cool whip. This will act as your glue, making sure that the candies stay somewhat on top of your cake when you slice into it.
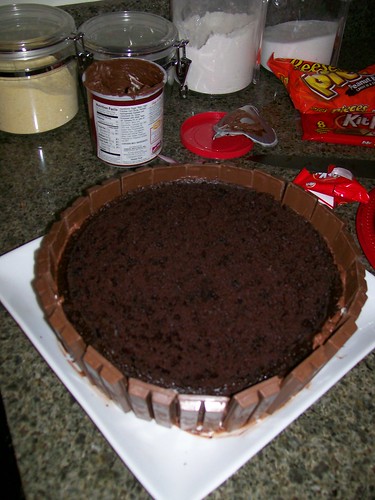
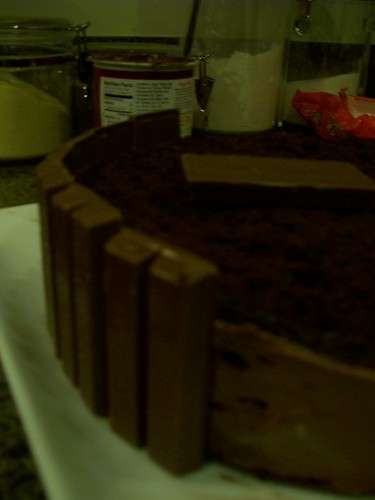
8) Now, for the Kit Kat border! To "glue" your border to the edges of your cake, use a thin layer of chocolate frosting. Then have a friend (in this case, my sweetheart) help you unwrap 24 kit kats!
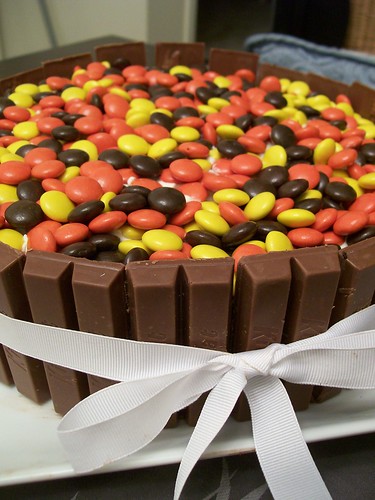
9) Attach the kit kats with the kit kat logo facing outward around the cake, using the frosting to help it stick to it.
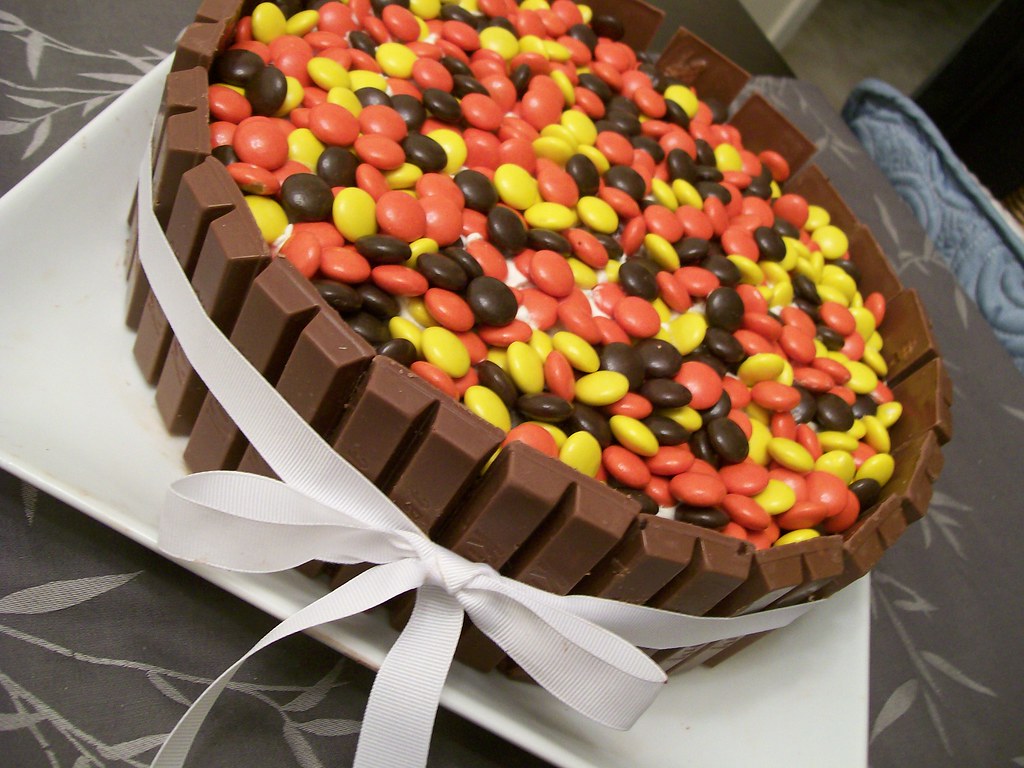
10) Take your white ribbon (or whatever color ribbon you like) and run it around the middle of your cake - tying a secure but pretty bow at the front.
11) Last but not least, pour your bag of Reese's pieces or candies on top of the cake - spreading them out evenly, and filling your brand-new Kit Kat cake bucket :)
I was blown away by one - how easy this cake was and two- what a big hit it was! We were worried about surprising my boss since his last day in the office had been incredibly stressful. The day was dwindling down to a close when amazingness happened and he turned to me and said simply, 'Annie - Kit Kat.'
This was the moment! I raced to the fridge and rounded up the office and presented him with 24 kit kats + a cake. Suffice it to say, it was momentous.
And that's kinda how I feel returning to blogging. I've been stressed, distracted, pulled away by other interests and lots of new changes - but at the end of the day - well, end of this year- I've realized it's time for a kit kat. Time to cut lose. Time to get creative again. Glad to be back and thanks for all your support thus far - happy one year blogging anniversary to me!


