I was hoping this day
would come at some point in my life- the day I’d actually win an award for
something I whipped up! Indeed, that day has come. Last week, I made my own
spin on Bakerella’s cake pops – Mickey and Minnie Cake Pops – for our Charity
Bake Sale. They turned out great and much to my delight, I was awarded a Golden
Spoon (an amazing wooden spoon
wonderfully spray-painted in gold) for “Best Candy.” Yeah, I still got it.
Anyway, here’s a brief
rundown and the recipe if you’d like to make your own this holiday season!
Cake Balls are basically just cake mixed with frosting, rolled into balls, then dipped in chocolate. They are a staple of an amazing baker/blogger known as Bakerella. If you'd like more background on them, check out my earlier post- Cake Balls of Deliciousness.
If you'd like to make these scrumptious award-winnng Disney-themed pops, here's what you'll need:
For the cake and cake/frosting mixture -
- Devil's food cake mix
- Eggs and vegetable oil (enough to bake the mix as normal)
- 1 can of Cream Cheese Frosting
For decorating the cake balls -
- One box of Junior Mints
- Red heart sprinkles
- Wilton's (or any other brand) dark cocoa melting chocolate
- Lollipop sticks
- Red sugar sprinkles (optional)
For presentation -
- A long foam block
- Gift wrap
DIRECTIONS
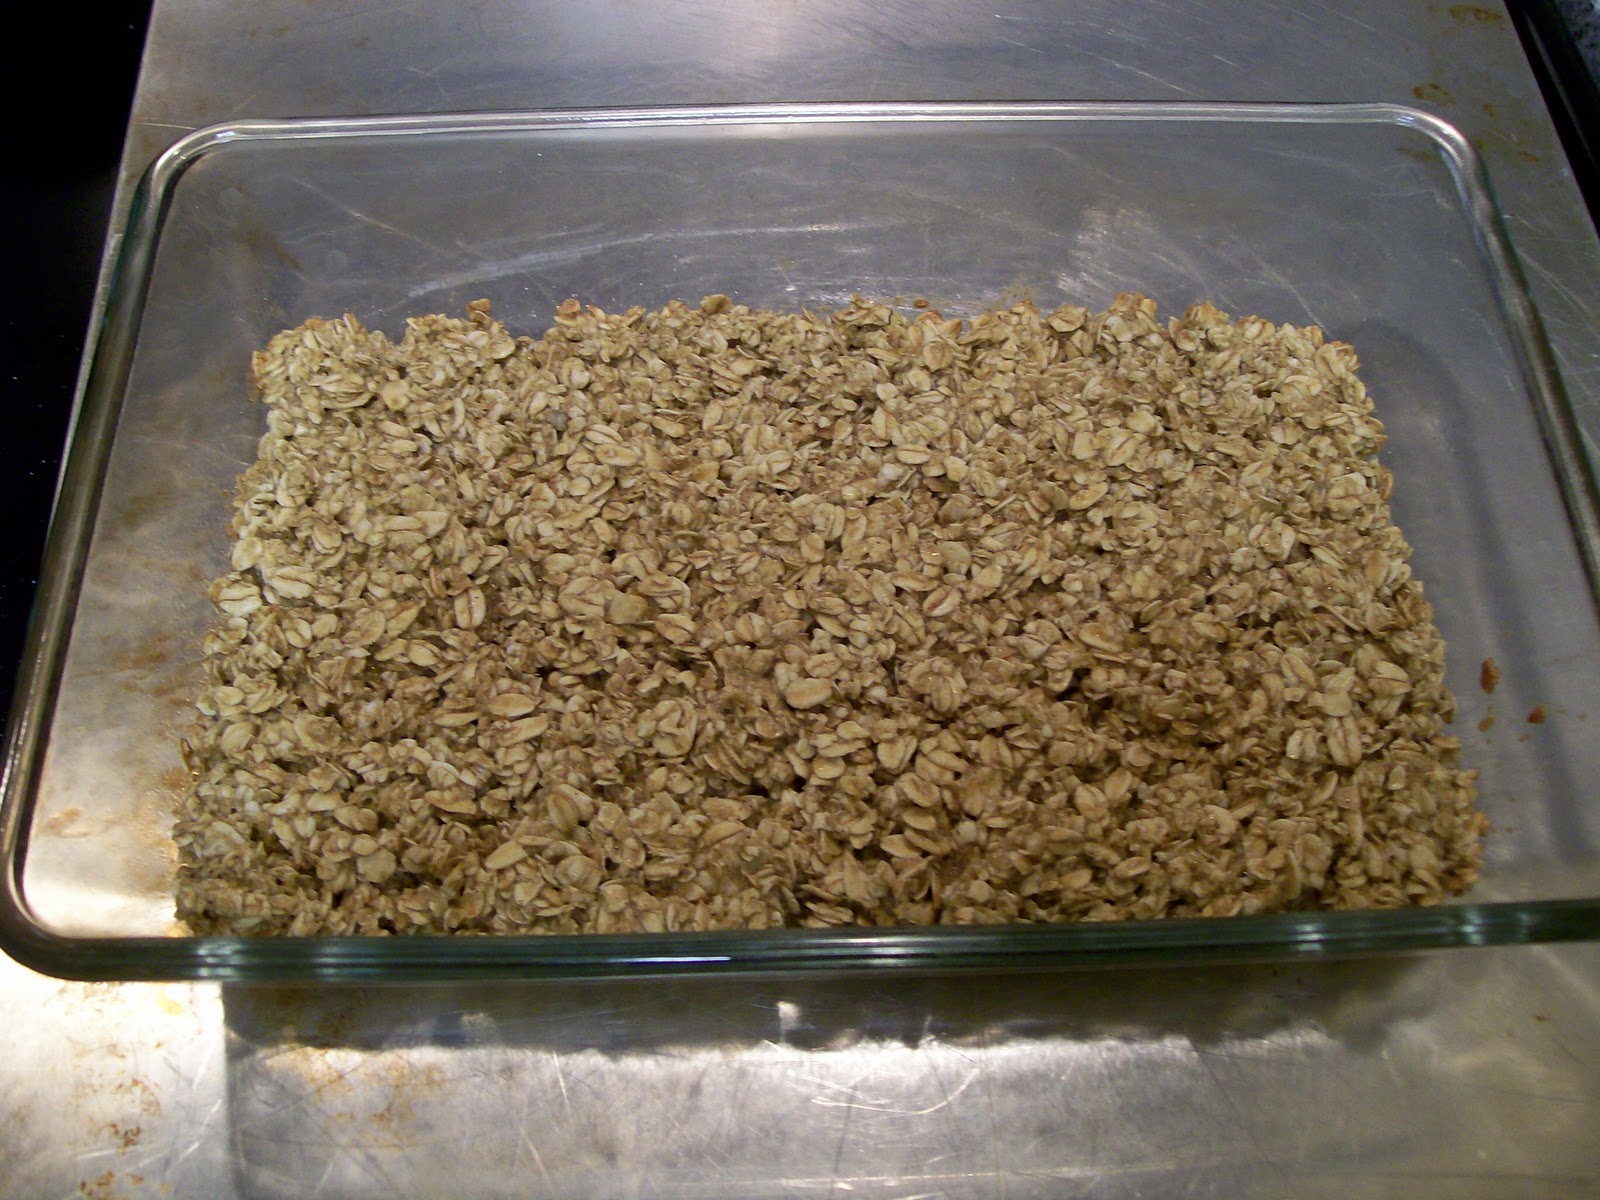
1. Prepare cake as directed and allow to cool for at least an hour.
2. Crumble cake into fine particles with your hands into a large bowl.
3. Add an entire can of cream cheese frosting. Mix evenly.
4. Roll the mixture into small, 1 inch balls and place on wax paper. Refrigerate (overnight) if you can.
5. When you're ready to decorate, melt your melting chocolate in a deep bowl according to the directions on the package.
6. Dip the tip of each lollipop stick into the melted chocolate then straight down into the cake balls on your wax paper. You are making cake on a stick here, essentially.
7. Once you've completed that step and the melted chocolate on the stick has been able to set, use the lollipop stick to dip the cake ball into the chocolate. Tap the stick towards the top (towards the cake ball) to drip off excess chocolate.
8. Working VERY quickly, attach two Junior mints as the ears (be sure to press down a little bit into the chocolate/cake ball) then two red heart sprinkles sideways to form a Minnie bow (if you are making Minnie). The chocolate dries in a matter of seconds! If it sets before you can get the bows on (which happened to me several times), dip one side of the red heart sprinkles back in the chocolate and use it as glue to attach. Repeat the same for any ears that might fall off.
9. Allow to dry by stuffing the lollipop stick down into a large foam block. It should hold the pop in place when it dries. Repeat! Just one box of cake mix will literally make nearly 50 pops if you need em so get crackin.
10. To make the display, remove all the pops from the foam block and lay them on wax paper (as long as they have set, they will be fine for the time being).
11. Wrap the box in your chosen gift wrap (I used holiday theme). Then set the pops back down into the styrofoam - and voila, cake pop display!
Alternative: You can also cut out circular labels and poke a hole in the top and bottom for the pop to go through. Great for giving individual pops as gifts!
That's it for me today. Hope you have fun making your own cake pops! Good luck on getting your own golden utensils. I heart mine.


