


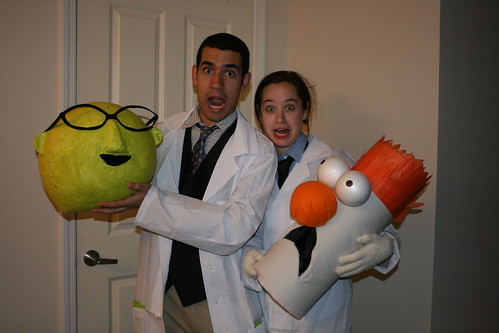
Thanks to everyone for their great comments on our costumes this year! It's definitely been a great Halloween season thus far and I can't wait to make another homemade costume for next year.
In the meantime, in case you're wondering how we put these together - here's a quick DIY rundown in case you want to get in touch with your own inner Muppet before this weekend's festivities.
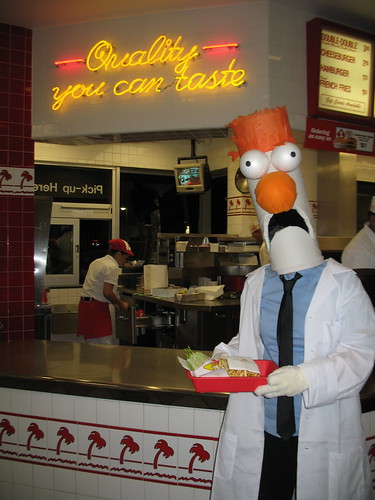
Beaker:
(Instructions translated from meep meep language)
Supplies:
(Head mask)
- 24" tall piece of foam that is long enough to be circled around your head like a cylinder and meet itself on the other side (found this at Jo-Ann Fabric)
- Needle and thread
- 1 yard of flesh colored fabric
- 1 large styrofoam ball
- 2 smaller styrofoam balls (identical)
- Blash mesh fabric (about 12"x12")
- Orange felt (large enough to cover the large styrofoam ball)
- Glue gun
- Black sharpie
- Scissors
- X-acto knife
- Orange tissue paper (found at Party City)
(Body)
- Tie
- Dress shirt
- Slacks
- Furry gloves
- Lab Coat (found at Party City)

Instructions:
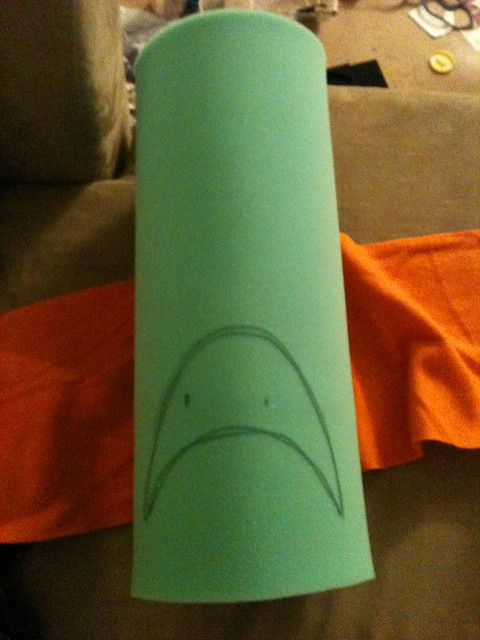
1. Begin to make your head mask by sewing the tall piece of foam into a cylinder. I just did a loose stitch all the way up (so the mask can give and take a little when you slide it on and off but it's still snug.)
2. Once your foam is sewed into a cylinder, slide the mask on, stitched side facing the back/center of your head and have a friend help you mark the eye holes on the mask with a sharpie.
3. Slide the mask off and draw the beaker mouth shape around the eye holes (ensuring you'll be able to see through the mask!)
4. Carefully, slice the shape out of the foam using an x-acto knife (the foam should cut cleanly and quickly).
5. Using a glue gun, cover the cylinder in the flesh fabric. It helps to have a friend hold the fabric taught and to roll it the mask over the fabric to secure it. Tuck the extra fabric at the top into the cylinder and secure with hot glue.
6. Carefully, cut the fabric away that covers the mouth hole. Carefully hot glue the fabric beneath the mask to it makes a clean seam around the mouth.
7. Cut the black mesh to fit behind the mouth and secure it with hot glue. If you can't see through it yet, don't worry - you can slice holes in it to see better and no one will be able to tell.
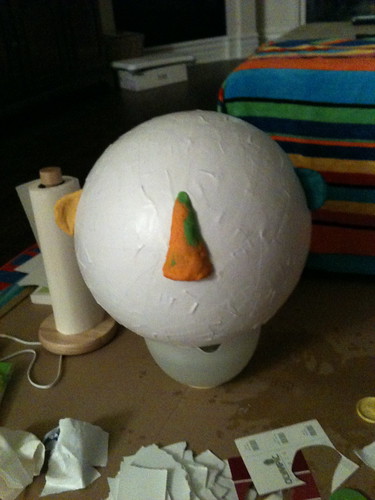
8. For the nose, cover the large styrofoam with orange fleece (using hot glue). When it's covered, secure it with hot glue above Beaker's mouth area.
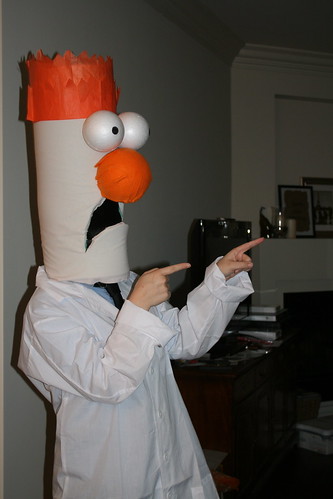
9. For the eyes, use a sharpie to add the eyeballs to the smaller styrofoam balls. Secure the eyes with hot glue directly above his nose.
10. For the hair, cut a zig zag pattern into layers of tissue paper and affix using hot glue at various lengths.
11. Complete your outfit with the body materials and you're ready to meep meep meep!
Bunsen Honeydew:
Supplies:
(Head mask)
- One bouncy ball (Target)
- Sponge brush
- Regular brush
- Modge podge with a little bit of water mixed in
- Citron green paint (Michael's)
- Stiffened black felt (two pieces)
- Scissors
- X-acto knife
- White paper torn into small pieces (at least 30 pages)
- Black mesh fabric (12" x 12" or less)
- Playdoh ($1 at 99-cent store)
- 1 large bowl covered with plastic wrap
- 1 shallow dish covered with plastic wrap
(Body)
- Tie
- Dress shirt
- Black vest
- Lab coat (Party City)
- Green gloves (Target for $1)

Directions:1. Begin by setting the bouncy ball on a bowl covered in plastic wrap. The plastic wrap will hold the ball in place for you.
2. Mix modge podge with a bit of water in the shallow dish covered in plastic wrap. Dip pieces of torn white paper (both sides) into the modge podge, slide it against the side of the dish to drain excess, and place on ball. Cover the entire ball with pieces and make sure to get at least two layers of paper on it. Let dry.
3. Once dry, use play dough to shape Bunsen's nose and ears. Cover all the new pieces with modge podge and allow to dry.
4. When dry, paint the entire mask with green paint. Let dry.
5. Cut glasses frames and glasses sides from the black stiffened felt. (It helps to fold the felt in half to cut even frames, then stick it under something heavy to make it lay flat again). Attach to mask using a hot glue gun.
6. Slice into the ball and let all the air out
7. Draw the shape of Bunsen's mouth then, using an x-acto knife, carefully cut through the paper mache and make sure not to cave in the mask itself.
8. Similar to the Beaker mask, attach black mesh to the inside of the mouth with a hot glue gun.
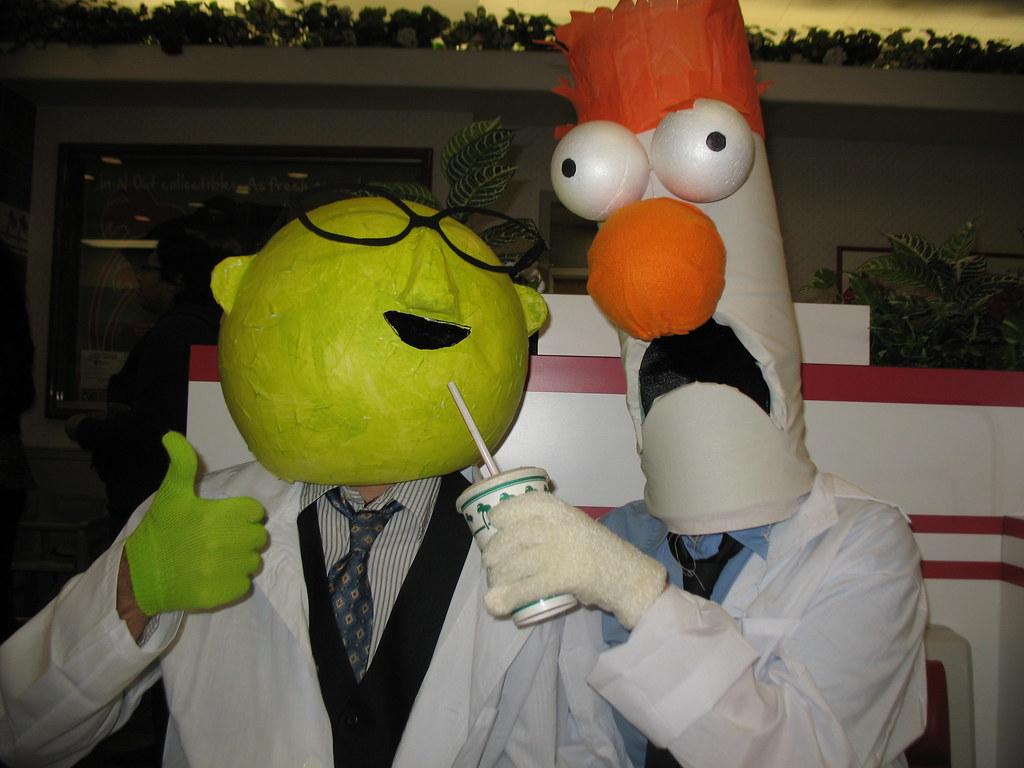
9. Pair with your body materials and you're ready for the lab!
Happy costume making all!
 |
| You can do this! |


.jpg)
.jpg)


