Recent Posts

Showing posts with label Halloween. Show all posts

Thursday, October 28, 2010

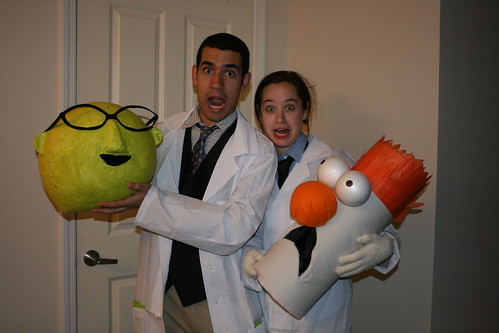
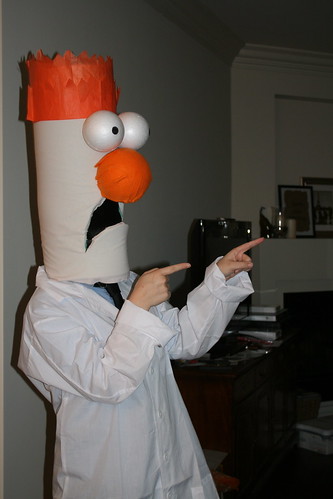
How to: Make your own Bunsen and Beaker


Thanks to everyone for their great comments on our costumes this year! It's definitely been a great Halloween season thus far and I can't wait to make another homemade costume for next year.

In the meantime, in case you're wondering how we put these together - here's a quick DIY rundown in case you want to get in touch with your own inner Muppet before this weekend's festivities.


Beaker:
(Instructions translated from meep meep language)


Supplies:
(Head mask)
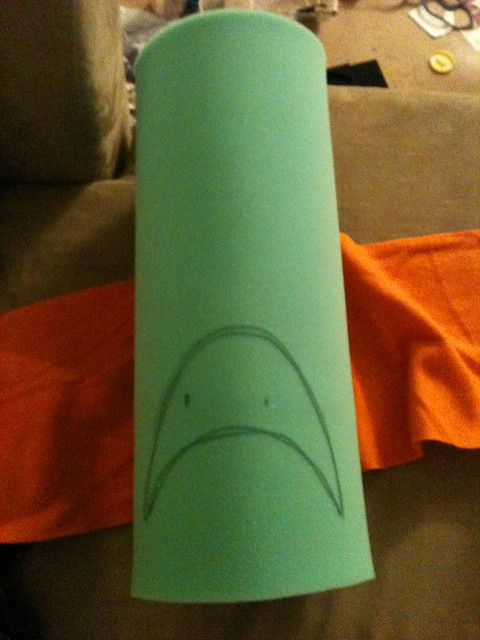
- 24" tall piece of foam that is long enough to be circled around your head like a cylinder and meet itself on the other side (found this at Jo-Ann Fabric)
- Needle and thread
- 1 yard of flesh colored fabric
- 1 large styrofoam ball
- 2 smaller styrofoam balls (identical)
- Blash mesh fabric (about 12"x12")
- Orange felt (large enough to cover the large styrofoam ball)
- Glue gun
- Black sharpie
- Scissors
- X-acto knife
- Orange tissue paper (found at Party City)


(Body)
- Tie
- Dress shirt
- Slacks
- Furry gloves
- Lab Coat (found at Party City)


Instructions:
1. Begin to make your head mask by sewing the tall piece of foam into a cylinder. I just did a loose stitch all the way up (so the mask can give and take a little when you slide it on and off but it's still snug.)
2. Once your foam is sewed into a cylinder, slide the mask on, stitched side facing the back/center of your head and have a friend help you mark the eye holes on the mask with a sharpie.
3. Slide the mask off and draw the beaker mouth shape around the eye holes (ensuring you'll be able to see through the mask!)
4. Carefully, slice the shape out of the foam using an x-acto knife (the foam should cut cleanly and quickly).
5. Using a glue gun, cover the cylinder in the flesh fabric. It helps to have a friend hold the fabric taught and to roll it the mask over the fabric to secure it. Tuck the extra fabric at the top into the cylinder and secure with hot glue.
6. Carefully, cut the fabric away that covers the mouth hole. Carefully hot glue the fabric beneath the mask to it makes a clean seam around the mouth.
7. Cut the black mesh to fit behind the mouth and secure it with hot glue. If you can't see through it yet, don't worry - you can slice holes in it to see better and no one will be able to tell.
8. For the nose, cover the large styrofoam with orange fleece (using hot glue). When it's covered, secure it with hot glue above Beaker's mouth area.
9. For the eyes, use a sharpie to add the eyeballs to the smaller styrofoam balls. Secure the eyes with hot glue directly above his nose.
10. For the hair, cut a zig zag pattern into layers of tissue paper and affix using hot glue at various lengths.
11. Complete your outfit with the body materials and you're ready to meep meep meep!


Bunsen Honeydew:


Supplies:
(Head mask)
- One bouncy ball (Target)
- Sponge brush
- Regular brush
- Modge podge with a little bit of water mixed in
- Citron green paint (Michael's)
- Stiffened black felt (two pieces)
- Scissors
- X-acto knife
- White paper torn into small pieces (at least 30 pages)
- Black mesh fabric (12" x 12" or less)
- Playdoh ($1 at 99-cent store)
- 1 large bowl covered with plastic wrap
- 1 shallow dish covered with plastic wrap


(Body)
- Tie
- Dress shirt
- Black vest
- Lab coat (Party City)
- Green gloves (Target for $1)


Directions:
1. Begin by setting the bouncy ball on a bowl covered in plastic wrap. The plastic wrap will hold the ball in place for you.
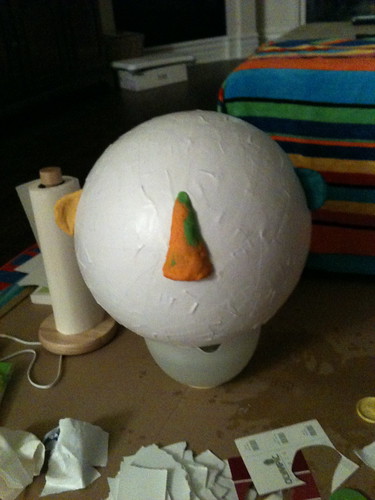
2. Mix modge podge with a bit of water in the shallow dish covered in plastic wrap. Dip pieces of torn white paper (both sides) into the modge podge, slide it against the side of the dish to drain excess, and place on ball. Cover the entire ball with pieces and make sure to get at least two layers of paper on it. Let dry.
3. Once dry, use play dough to shape Bunsen's nose and ears. Cover all the new pieces with modge podge and allow to dry.
4. When dry, paint the entire mask with green paint. Let dry.
5. Cut glasses frames and glasses sides from the black stiffened felt. (It helps to fold the felt in half to cut even frames, then stick it under something heavy to make it lay flat again). Attach to mask using a hot glue gun.
6. Slice into the ball and let all the air out
7. Draw the shape of Bunsen's mouth then, using an x-acto knife, carefully cut through the paper mache and make sure not to cave in the mask itself.
8. Similar to the Beaker mask, attach black mesh to the inside of the mouth with a hot glue gun.
9. Pair with your body materials and you're ready for the lab!


Happy costume making all!

You can do this!

Tuesday, October 26, 2010

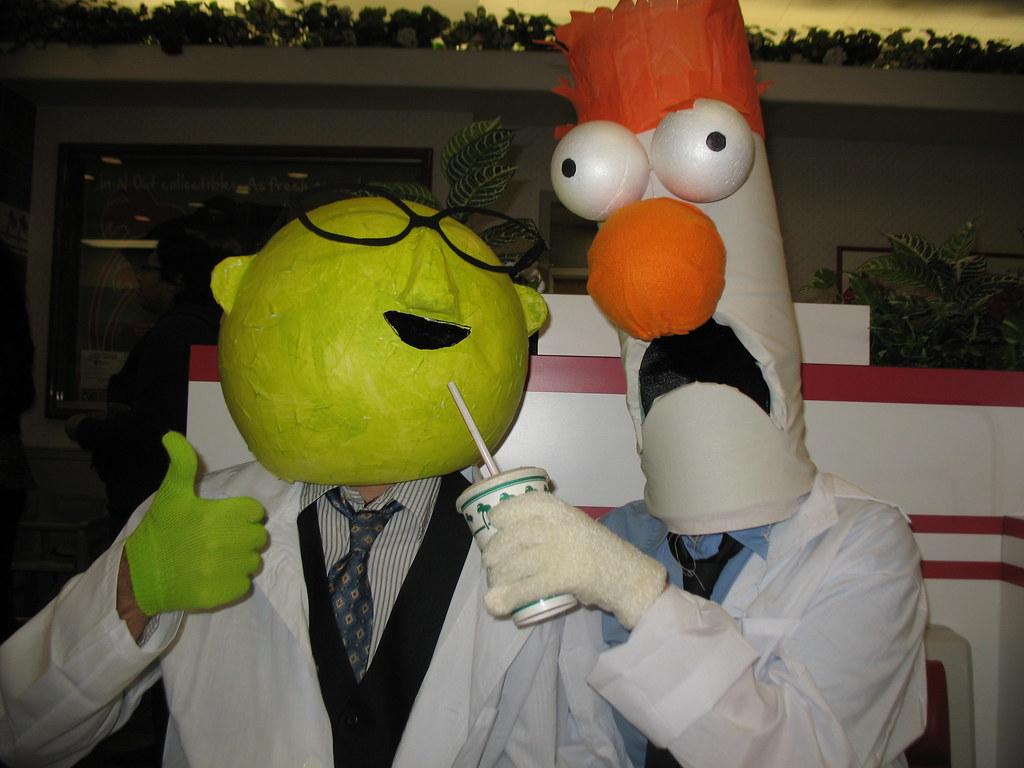
Meep meep meep... meep! The Reveal

Dun dun dun... introducing - straight from Muppet Labs - 
Bunsen Honeydew and his loyal assistant Beaker!


As you know, I'm a giant Muppet nut and I actually got this idea for a couples costume shortly after last Halloween. It's completely hand-made (aside from the lab coats - thanks Party City). I had a very understanding roommate and very supportive boyfriend to help this costume come to reality. 

See? He's so understanding.
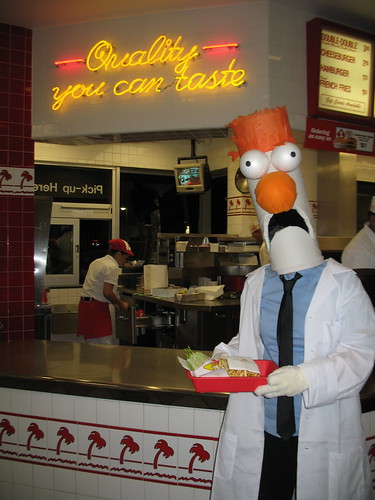
We went to our first Halloween party this past weekend and followed it up by going to a California institution - In N Out! Needless to saying, going as Beaker to In N Out is definitely one of the most fun experience I've ever had out here - definitely the most fun I've ever had in a fast food joint. 


I'll post a DIY post later this week on how you too can get in touch with your inner Muppet by making these costumes with simple stuff - foam, paper mache, paint, etc. Stay tuned and til then - happy costume prepping to you and early Happy Halloween!


Linking up to the DIY Show Off!
Click here to check out the Halloween Link Party

Monday, October 25, 2010

Halloween Costume reveal.. tomorrow!!

Gus and I have already had numerous adventures in this year's COUPLES Halloween costumes! For that reason, I'll do the big reveal TOMORROW! Stop by to see Halloween 2010 awesomeness.

For now, here's another sneaky preview pic!

Sunday, October 24, 2010

A Halloween Cardboard Cemetery

I hardly ever stop my car to take a second look at something I've driven past. Last week, I simply had to after driving through a local neighborhood and spotting a home with some terrific Halloween DIY-ingenuity.


Here's a simple project that most anyone can afford - cardboard, black and grey paint, and scissors/box cutters - which can yield surprisingly witty and awesome results. The instructions are pretty self explanatory ;-)


The Creative Cardboard Cemetery
bury your favorite fictional (or non-ficitonal) characters on your lawn in time for Halloween


Wednesday, October 20, 2010

Halloween Costume 2010 - Sneak Peek

This year, I'm tempted to do more than one sneak peek of my homemade halloween costume(s). Here's a quick look at the early stages of this year's beauty. Stay tuned to the blog for more hints...


Here's last year's costume if you want to see:


Wednesday, November 11, 2009

Disney's Halloween Costume Contest


Obviously, I was in very good company with my Up! costume.
To my right, Michael won 2nd place in the Disney category. His Russell Costume was too perfect.

For more about my costume and how to make your own, please click here and here.
Also, in case you missed it, Up! just came out on DVD and Blu-ray yesterday.

Sunday, November 1, 2009

Leftover Halloween Candy? Make a new recipe!


Spotted this around the blogosphere - delicious recipes to make with your leftover halloween candy!
 CDKitchen has a huge index of halloween candy using recipes, so be sure to check that out too if you're in a baking mood post-holiday.  Parenthood.com also has a Top 10 with great tips on what to do with the candy beyond just baking with it, here.


Good luck getting rid of all that extra sugar through the great therapy of baking!

Friday, October 30, 2009

How-to: Make an Up! Costume


This costume takes approximately six hours to complete from start to finish so please leave yourself enough time.


What you'll need:

  • Large piece of Cardboard (I used a White Science Project display board that was $5 at Michael's - highly recommended since it's already white and ready to color on)
  • Wide ribbon like the kind you'd tie up hair with (something substantial with no wiring in it)
  • Duct tape
  • Colored pencils and crayons
  • Scissors
  • Masking tape or clear packing tape
  • 1 Cardboard Toilet Paper Roll
  • 2 Suspender Clips (or binder clips) - see picture right
  • 12-14 Helium Balloons in various colors with long strings
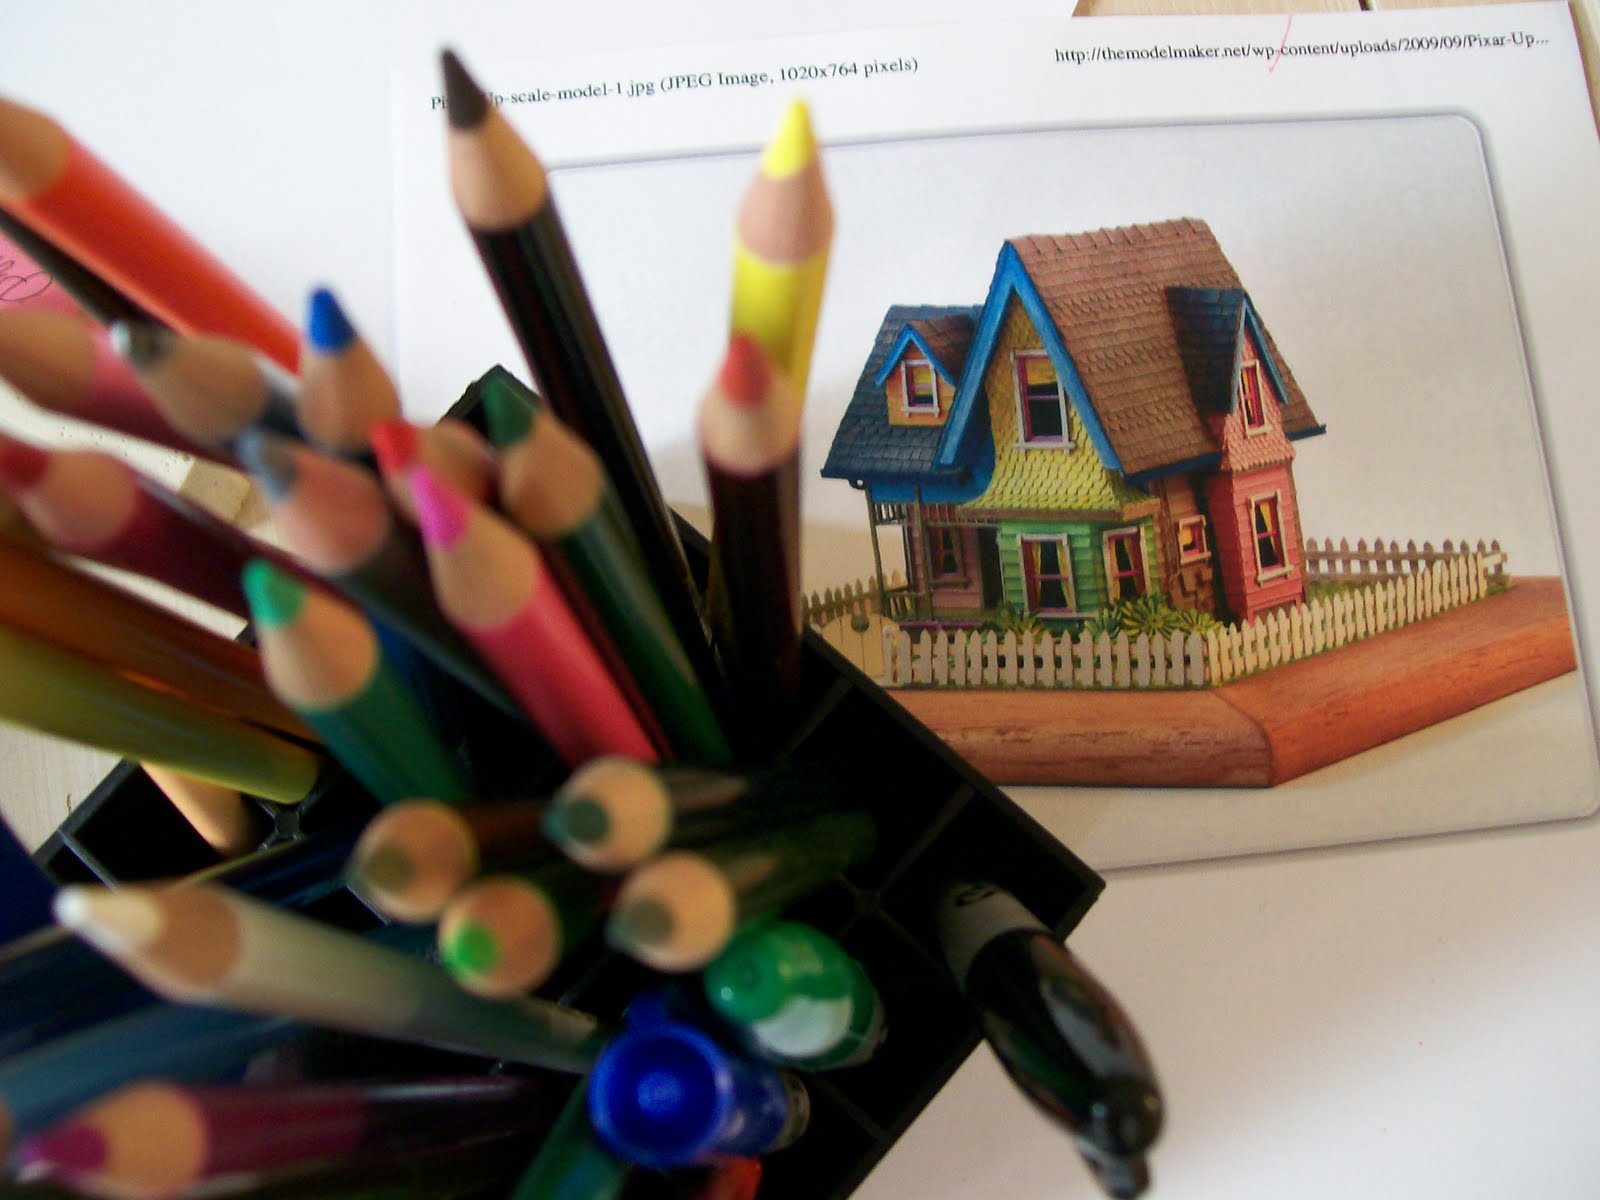
  • Annie's Up House Image/Template and Carbon Paper (Optional)
  • Straight edge (ruler or Ikea catalog... whichever your preference)
Directions:
  1. IF you are going to use this image as a starter for a template, you will take the image and blow it up to your desired actual size. Print then use carbon paper to transfer your design onto the cardboard itself. For more on this process, check out my earlier post on Vector Paintings.
  2. If you'd rather free-hand it, here's how I did it.
  3. Outline your house with pencil.
  4. Choose the permanent lines you want to use with black sharpie.
  5. Color in all the details.
  6. Cut the design free of the cardboard. (Note: it's important to do this step post-coloring because cutting the cardboard down will make the piece lose a lot of integrity. If you cut it first, then color - pressing on it with the crayons may bend it in places.)
  7. To make the guide for the balloon strings, tape a cardboard toilet paper roll behind the drawing of the chimney using duct tape.
  8. Using duct tape, attach white ribbon to the back of the design, enough so that it comfortably fits over your head and across your chest the way a sandwich board might. Now your costume is ready for the balloon stage!
  9. For the balloons, I recommend getting 12-14 (enough so that it looks good and you have back-up if any break or leak, but not too much so you cant move anywhere). Helium only lasts a good 8 hours total so make sure to get the balloons right before you need to wear your costume. (Note: if you use Mylar balloons instead, they will last for at least a week! However, they don't look like the ones from the movie as much).
  10. This next step is optional but highly recommended. To keep all the strings together (which will soon become important), wrap them in clear packing tape or masking tape all the way down starting at the point you want the strings to emerge from the chimney and going all the way down to the end of the strings (away from the balloons).
  11. Now you're ready to put the whole costume together! 
Final Assembly Instructions (When you're ready to wear it!)
  • Get dressed. I recommend a totally black outfit with black pants that have belt loops through them. 
  • Slide the sandwich board-esque house over your head. 
  • Then take your balloon cluster and feed the bottom of the string rope through the cardboard toilet paper roll.
  • Take the string rope and then feed it through your belt loops until you've got the strings right at the level you want them for emerging from the chimney.
  • When ready, use the first suspender clip to secure the rope to itself to keep it at the level you want it (you could also knot it but that makes it hard to get in and out of the costume).
  • Once secured, use the second suspender clip just to adhere the string rope to your pants themselves.
  • You're finished! Be careful of anything overhead that might catch on the balloons and go find an old man to stand next to. 
Confused? Here are photos to give you and up-close-and-personal reference. Click them to get to a bigger version.


Good luck! Careful walking in this and fair warning: it's pretty tough to bend down so make sure everything you need is counter-height :)

    Up!


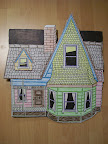
    What better way to celebrate one of my favorite animated movies of all time, Pixar's Up, than to immortalize it in my 2009 Halloween costume? Constructed from cardboard, balloons, ribbon, tape, and some dedicated crayon coloring - Carl Fredricksen's Flying house is easily the most fun costume I've ever put together.

     I'll be posting a tutorial shortly complete with flat images of the house (in case you'd like to blow them up and use them as a template). For now, may I suggest for costume success that you add one handsome archeologist date to really make the costume work.


    Happy Halloween everyone!

    Thursday, October 29, 2009

    Ridiculously Awesome Halloween Costumes


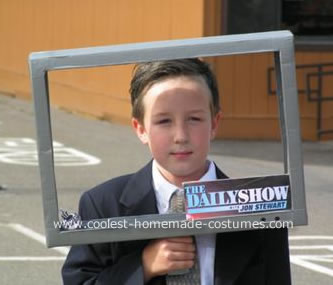
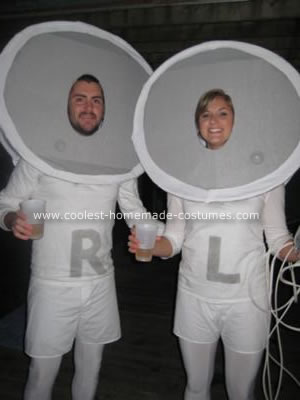
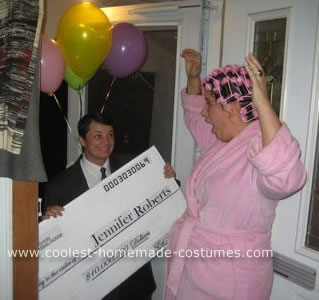
    In anticipation of tomorrow's BIG REVEAL of my Halloween Costume, I've compiled a short round-up of some true gems from around the web that are not to be missed. Click any picture for instructional how-to's from the people who actually created them.


    iPod earbuds


    Publisher's Clearing House Winner and Prizegiver (Couples Costume)


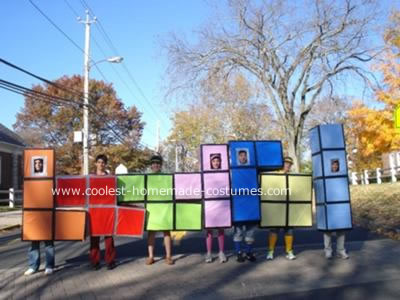
    Ahh, tetris. You are awesome.


    OMG, whoever thinks of these things is a genius. Alien Abduction.


    Beaker. I told you this blog involved Muppets!


    Find these and more at an excellent site, www.coolest-homemade-costumes.com. You can also submit your own costume this year to their annual contest!


    And check back here tomorrow...
    I will be posting the reveal of my 2009 Halloween Costume complete with a step-by-step how to and materials in case you want to make it in time for the festivities!

    Sunday, October 25, 2009

    Halloween Costume Sneak Peek


    Stay tuned for a post this FRIDAY with the big reveal (and a step-by-step how-to!)

    Friday, October 23, 2009

    Halloween: Cardboard Box Costumes


    This year, I'm attempting to make my first cardboard box costume for Halloween. Apparently at Disney, people take Halloween pretty seriously and there's a major costume contest. I am coming to compete! (I will post a step-by-step of my costume once it's finished, so get pumped.)


    Anyway, in my quest to figure out how I'm going to take my relatively ambitious idea and turn it into Halloween fashion glory, I've compiled a rundown around the internet of great sources for anyone hoping to take a cardboard box and make it into something fantastic (that's also fantastically cheap).


    If you're curious - here's a few places to look:
    Now, back to my task at hand. Expect a post late next week with my Halloween Costume step-by-step sweetness.
    Related Posts with Thumbnails